Getting Started Guide
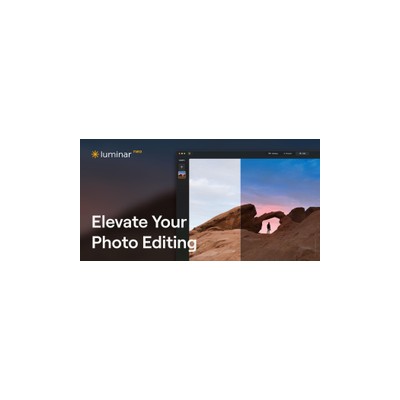
How to Use Luminar Neo
A practical guide to get you up and running with Luminar Neo. Written by Delv Editorial, Delv Team.
Getting started with Luminar Neo
In this guide, you'll learn how to set up Luminar Neo and perform basic photo editing tasks, including sky replacement and portrait enhancement. By the end, you'll be able to create stunning visuals with ease.Step 1: Sign up and set up
- Go to the Luminar Neo website.
- Click on the "Buy Now" button to choose your subscription plan (either $14.95/month or $149/year).
- Fill in your payment details and create an account.
- Once your purchase is confirmed, download the Luminar Neo installer for your operating system (Mac or Windows).
- Install the software by following the on-screen instructions, then log in with your account details.
Step 2: Your first photo edit
- Open Luminar Neo and click on the “Library” tab in the top left corner.
- Click the “+” button to import a photo from your computer.
- Select the photo and click “Edit” in the top right corner.
- To replace the sky, go to the “Sky AI” tool in the right panel. Click on “Choose Sky” and select a new sky from the options provided.
- Adjust the “Sky Replacement” settings as needed (like “Sky Position” and “Reflection”).
- For portrait enhancement, navigate to the “Portrait” tab and use tools like “Face AI” and “Body AI” to enhance facial features and body shape.
- Once satisfied, click on “Export” in the top right corner to save your edited photo.
Step 3: Get better results
- Experiment with the “Edit” panel to explore other AI tools like “Structure AI” for adding detail or “Denoise” for reducing noise.
- Use the “Layers” panel to create complex edits by stacking multiple adjustments. Click “Add New Layer” for additional effects.
- Save your favourite edits as presets by clicking on the “Presets” tab and selecting “Save Current Settings as Preset”.